
Privacy statement: Your privacy is very important to Us. Our company promises not to disclose your personal information to any external company with out your explicit permission.
If you're a DIY enthusiast or a professional who works with cables, you know how important it is to have a spool to keep your cables organized and tangle-free. While you can buy pre-made Cable Spools, building your own from plywood is a fun and cost-effective project that can be completed in a weekend. In this article, we'll go over the steps to build a plywood Cable Spool that is both sturdy and functional.
Materials Needed:
Step 1: Cutting the Plywood Using a circular saw, cut two pieces of plywood to the desired size of your spool. The size will depend on the length and thickness of your cables. Cut a third piece of plywood to the width of your spool. This will serve as the spool's core.
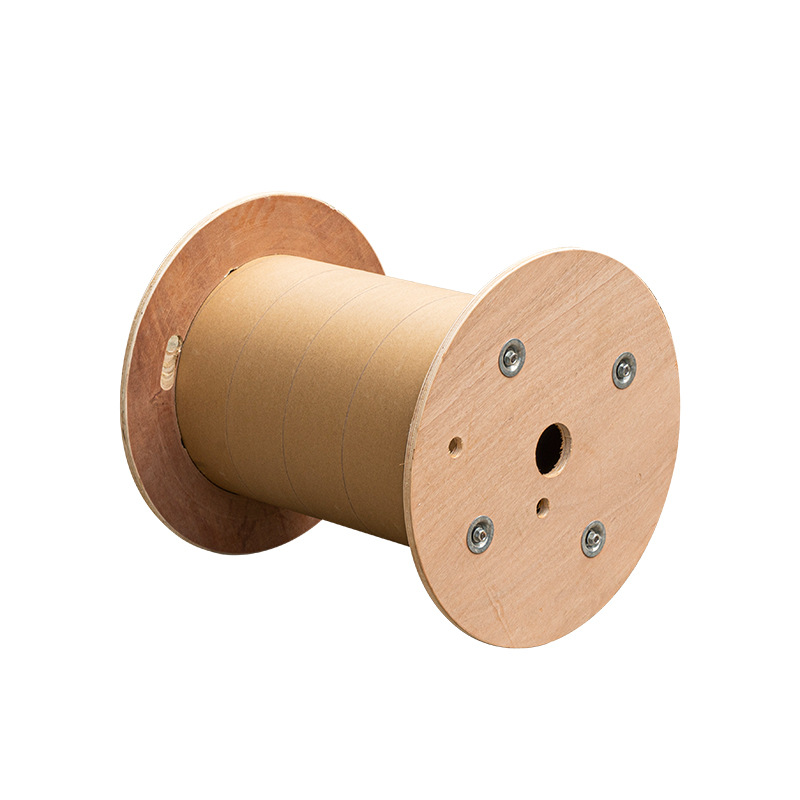
Step 2: Creating the Cable Guides Using a jigsaw, cut notches into the sides of the two larger pieces of plywood. These notches will serve as cable guides. The notches should be evenly spaced and large enough to fit your cables.
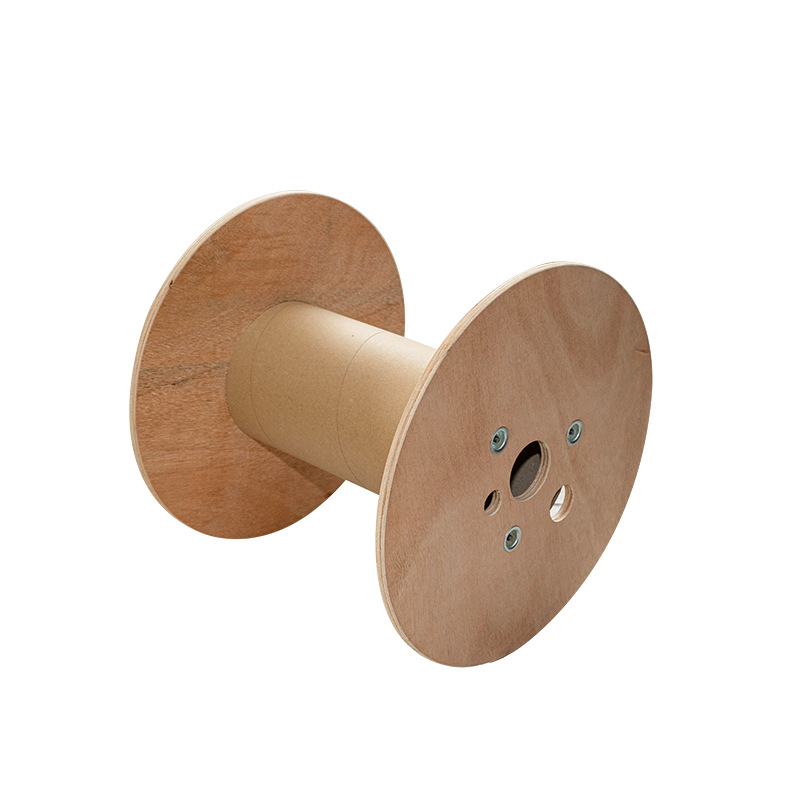
Step 3: Assembling the Spool Using wood glue and screws, attach the two larger pieces of plywood to either side of the core piece. Ensure that the cable guides are facing outward and that the pieces are flush with each other. Sand any rough edges or surfaces.
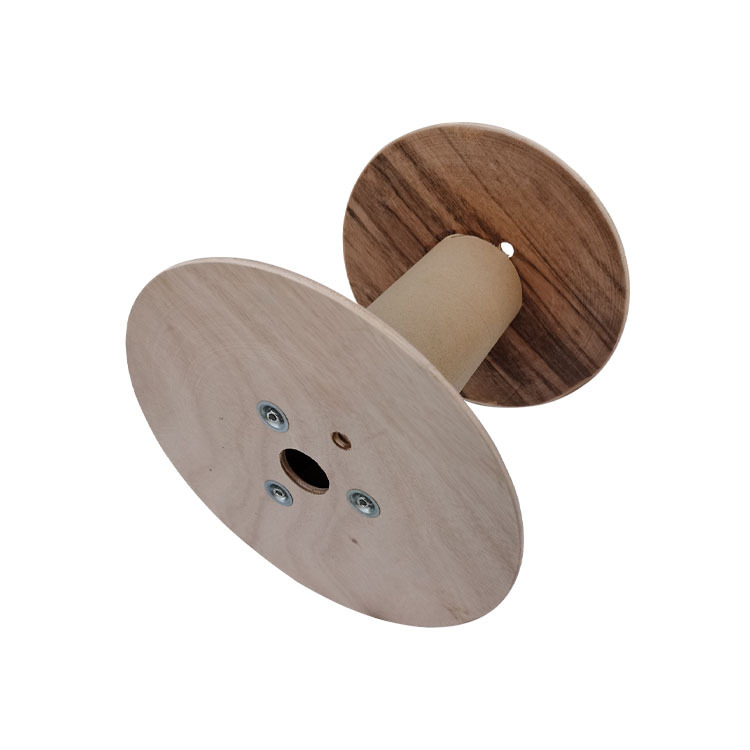
Step 4: Routing the Cable Guides Using a router, smooth out the edges of the cable guides. This will help prevent your cables from getting snagged or damaged.
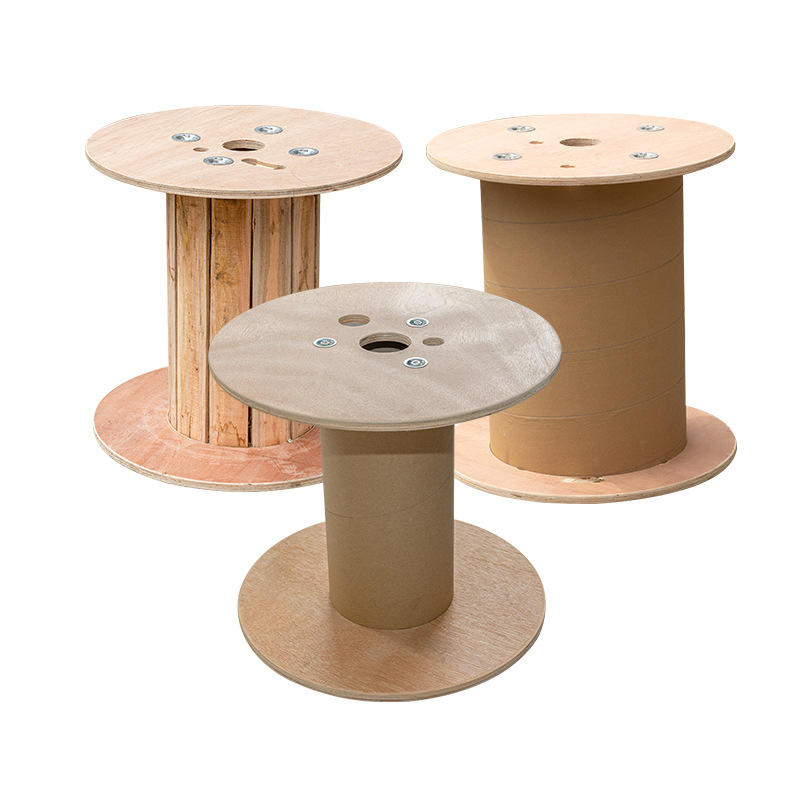
Step 5: Adding the Dowel Cut a dowel to the width of your spool. Using a drill, make a hole in the center of the spool's core. Insert the dowel through the hole. This will serve as the handle for your spool.
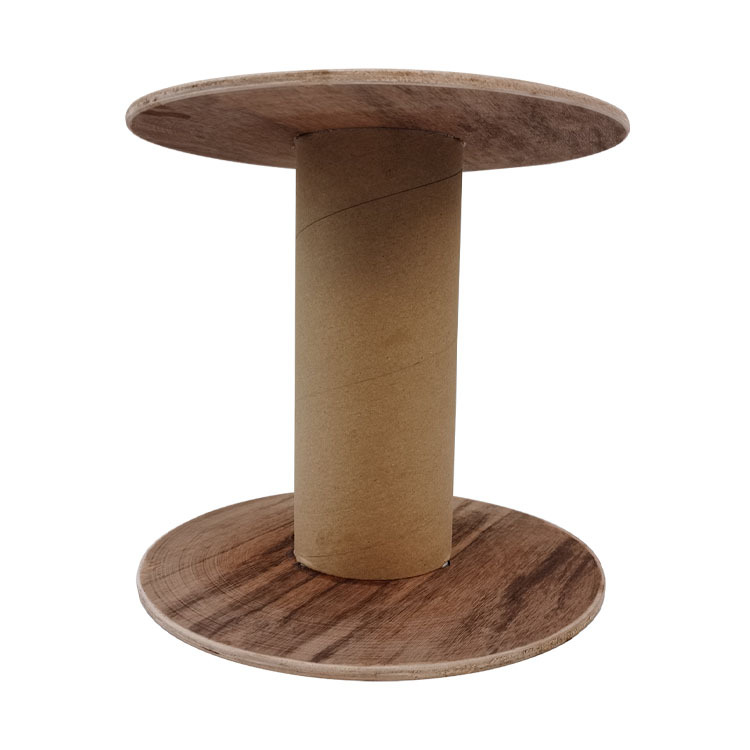
Step 6: Finishing Sand the entire spool with fine-grit sandpaper. If desired, you can stain or paint the spool to match your workshop's decor.
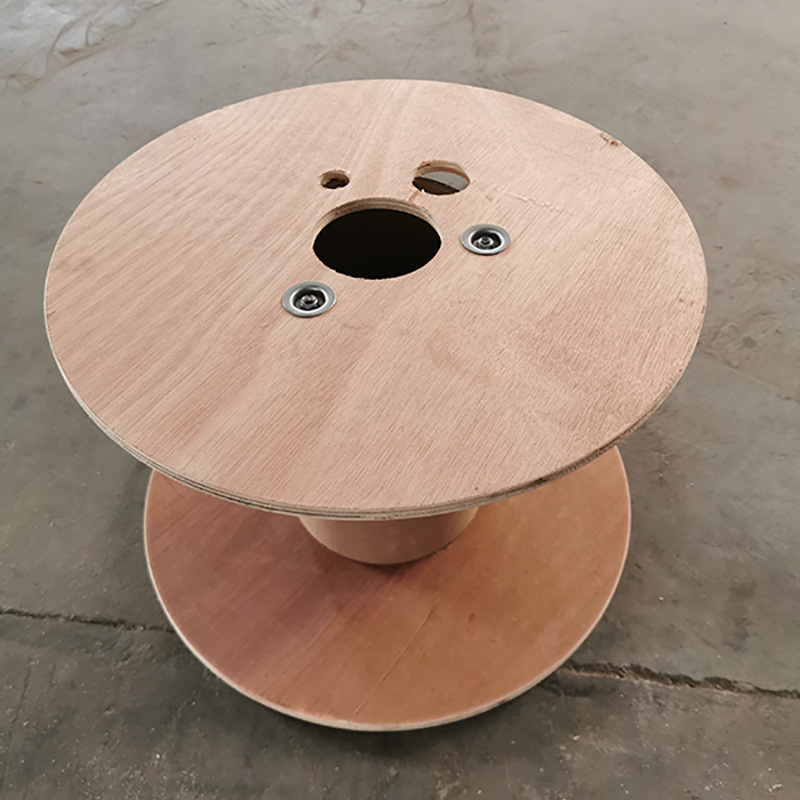
Your plywood cable spool is now complete! To use it, simply wrap your cables around the spool and store it in a convenient location. With this handy tool, you can say goodbye to tangled and messy cables and hello to a more organized workshop.
In conclusion, building a plywood cable spool is an easy and fun project that can be completed in a weekend. With just a few materials and tools, you can create a sturdy and functional spool that will keep your cables organized and easily accessible. Give it a try and see how much easier your next cable project can be!

Privacy statement: Your privacy is very important to Us. Our company promises not to disclose your personal information to any external company with out your explicit permission.

Fill in more information so that we can get in touch with you faster
Privacy statement: Your privacy is very important to Us. Our company promises not to disclose your personal information to any external company with out your explicit permission.